 Fluentd
Send Syslog Data to Graylog
This article explains how to set up Fluentd with Graylog. Graylog is a popular log management server powered by Elasticsearch and MongoDB. You can combine Fluentd and Graylog to create a scalable log analytics pipeline.
Prerequisites
- Basic Understanding of Fluentd
- Linux Server (Ubuntu 26.04 LTS is not supported yet. Use 22.04 or 24.04)
- Fluentd
- MongoDB Community Server, Use 8.0.
- Graylog, Use 7.1.
You can install Fluentd via major packaging systems.
You can install MongoDB via major packaging systems.
You can install Graylog Data Node and Server on Ubuntu.
Prepare Graylog for Fluentd
Go to http://localhost:9000 and log into the web interface.
To log in, use admin as the username and YOUR_PASSWORD as the password (the one you have set up for root_password_sha2).
Once logged in, click on System in the top nav. Next, click on Inputs from the left navigation bar. (Or, simply go to http://localhost:9000/system/inputs.
Then, from the dropdown, choose GELF UDP and click on Launch new input, which should pop up a modal dialogue, Select the Node and fill the Title. Then, click Save.
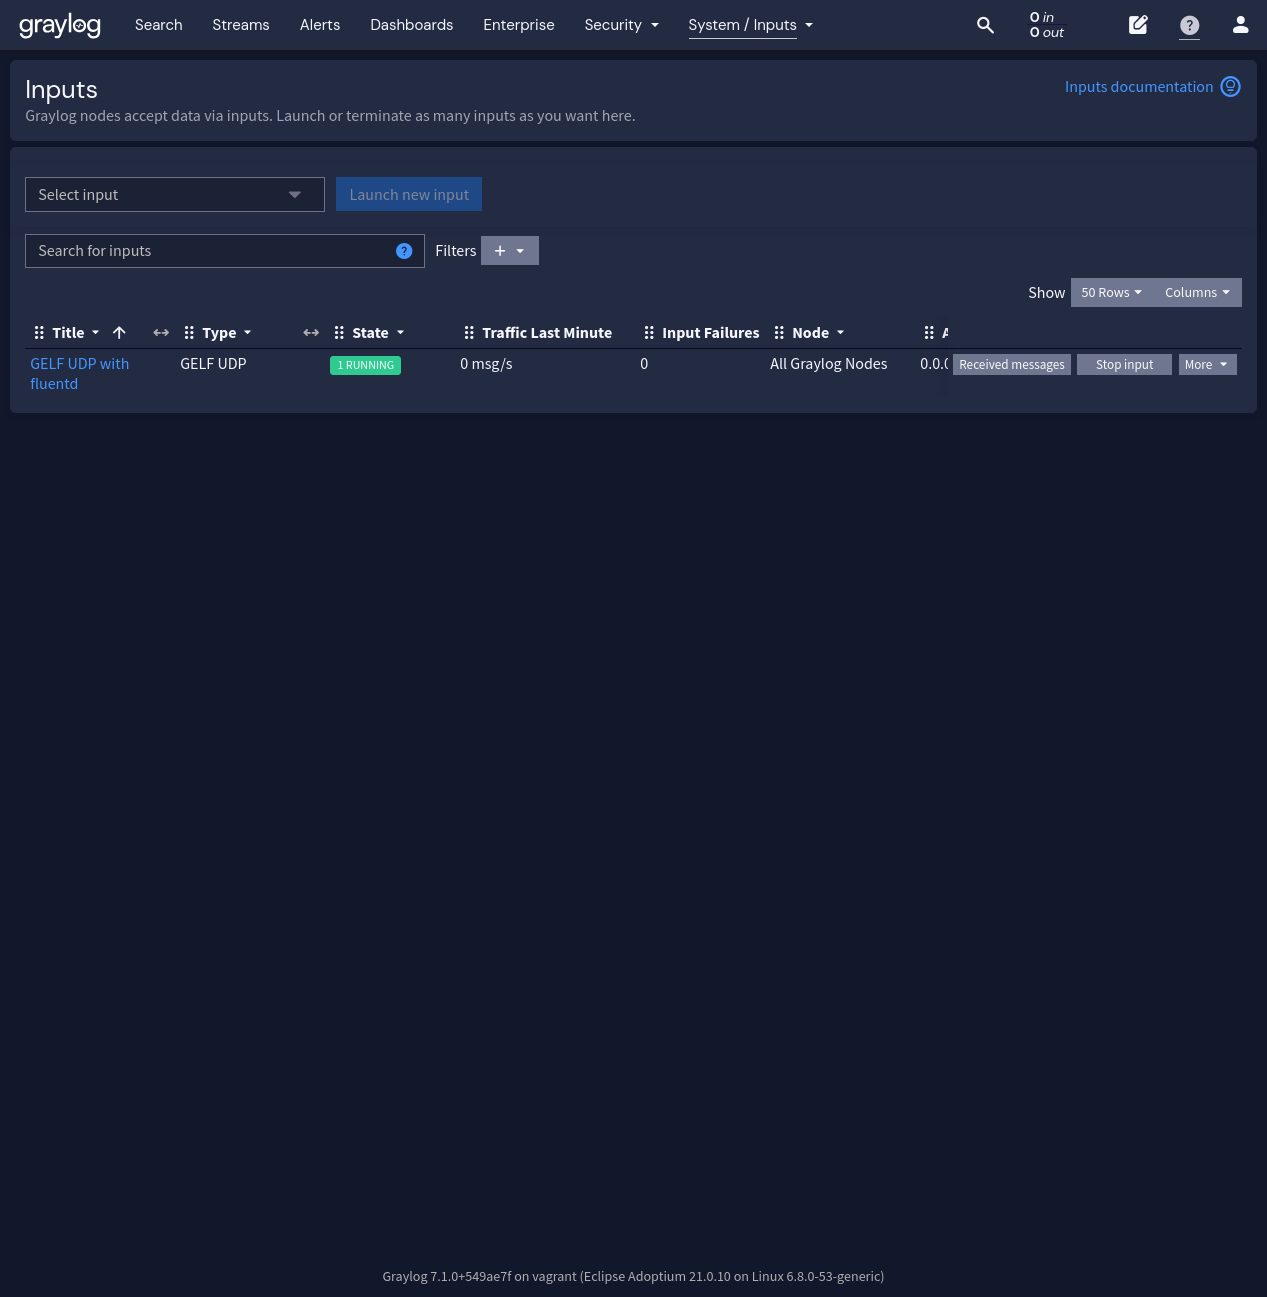
Now, Graylog is ready to accept messages from Fluentd over UDP. It is time to configure Fluentd.
There might be a case that modal dialogue will not be shown when clicking Launch new input. Check your browser configuration.
Fluentd
You can install Fluentd via major packaging systems.
Install MongoDB Plugin
If out_gelf (fluent-plugin-gelf-hs) is not installed yet, please install it manually.
See Plugin Management section for how to install fluent-plugin-gelf-hs on your environment.
Then, configure /etc/fluent/fluentd.conf as follows:
<source>
  @type syslog
  tag graylog
</source>

<match graylog.**>
  @type gelf
  host 127.0.0.1
  port 12201
  <buffer>
    flush_interval 5s
  </buffer>
</match>
Create /etc/rsyslog.d/90-fluentd.conf and add the following line to the file:
*.* @127.0.0.1:5140
Finally, restart rsyslog and Fluentd with the following commands:
$ sudo systemctl restart rsyslog
$ sudo systemctl restart fluentd
Visualize the Data Stream
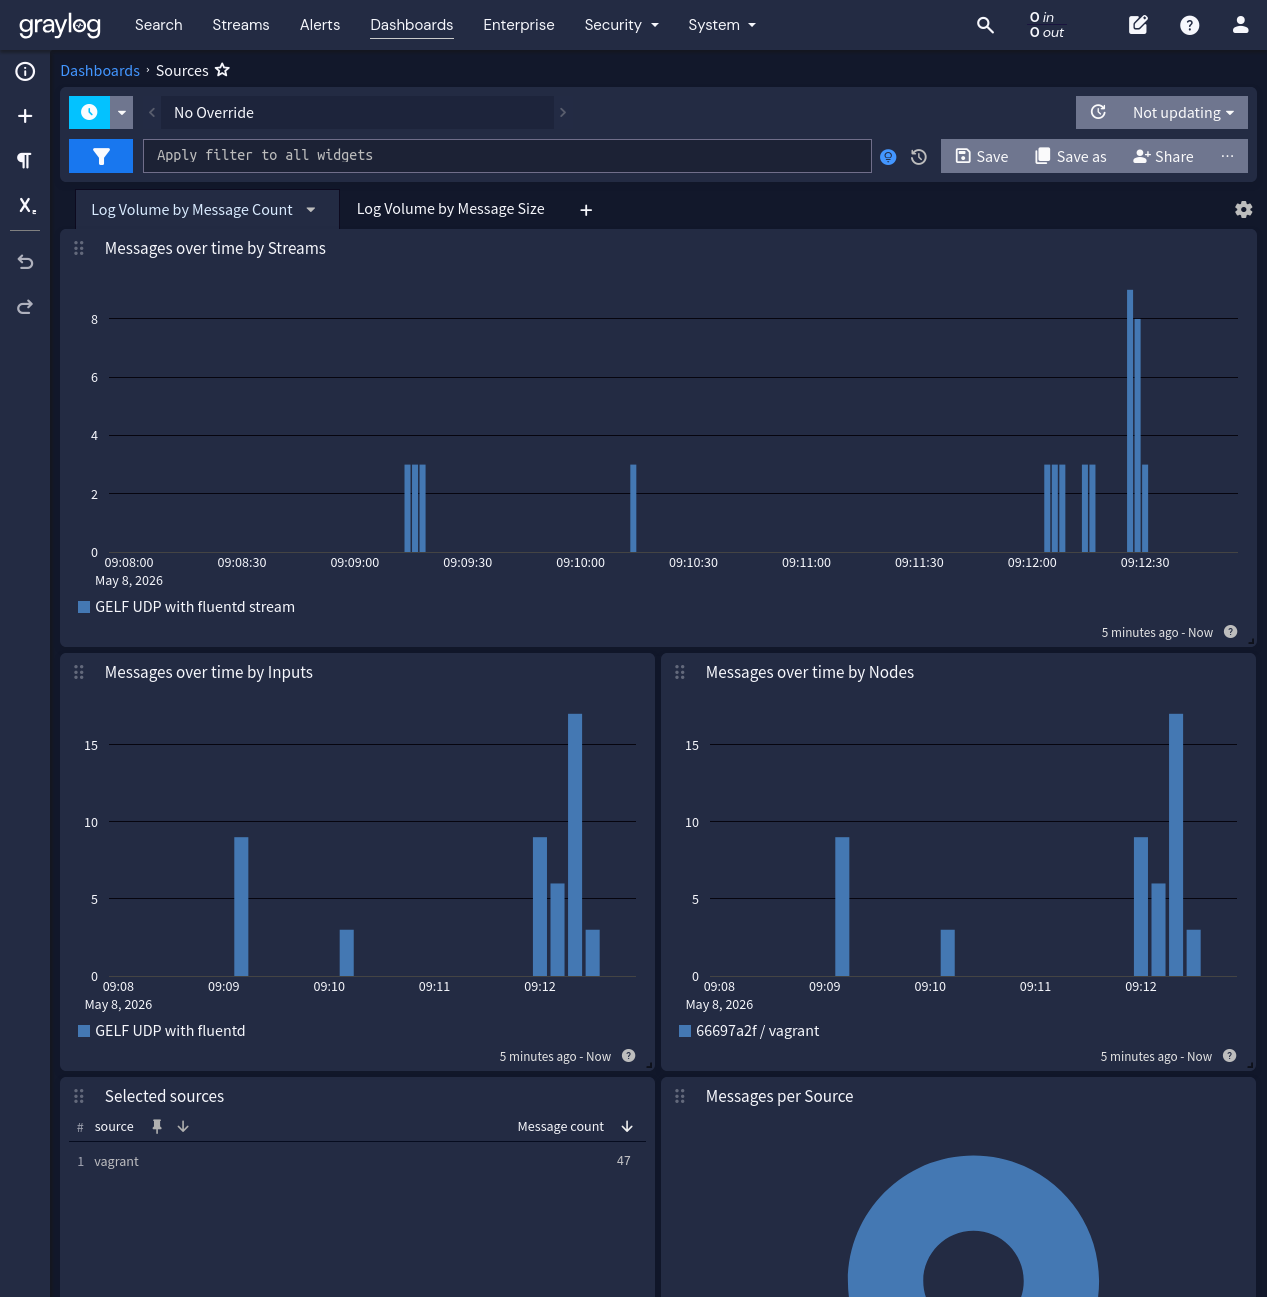
When you log back into Graylog, you should be seeing a graph like this (wait for events to flow in):